Creating a professional email signature in LinkPod is a straightforward process. Follow these steps to design and customize your email signature, using the provided images for reference.
Note: Email signatures are available in our "Plus" plan and above.
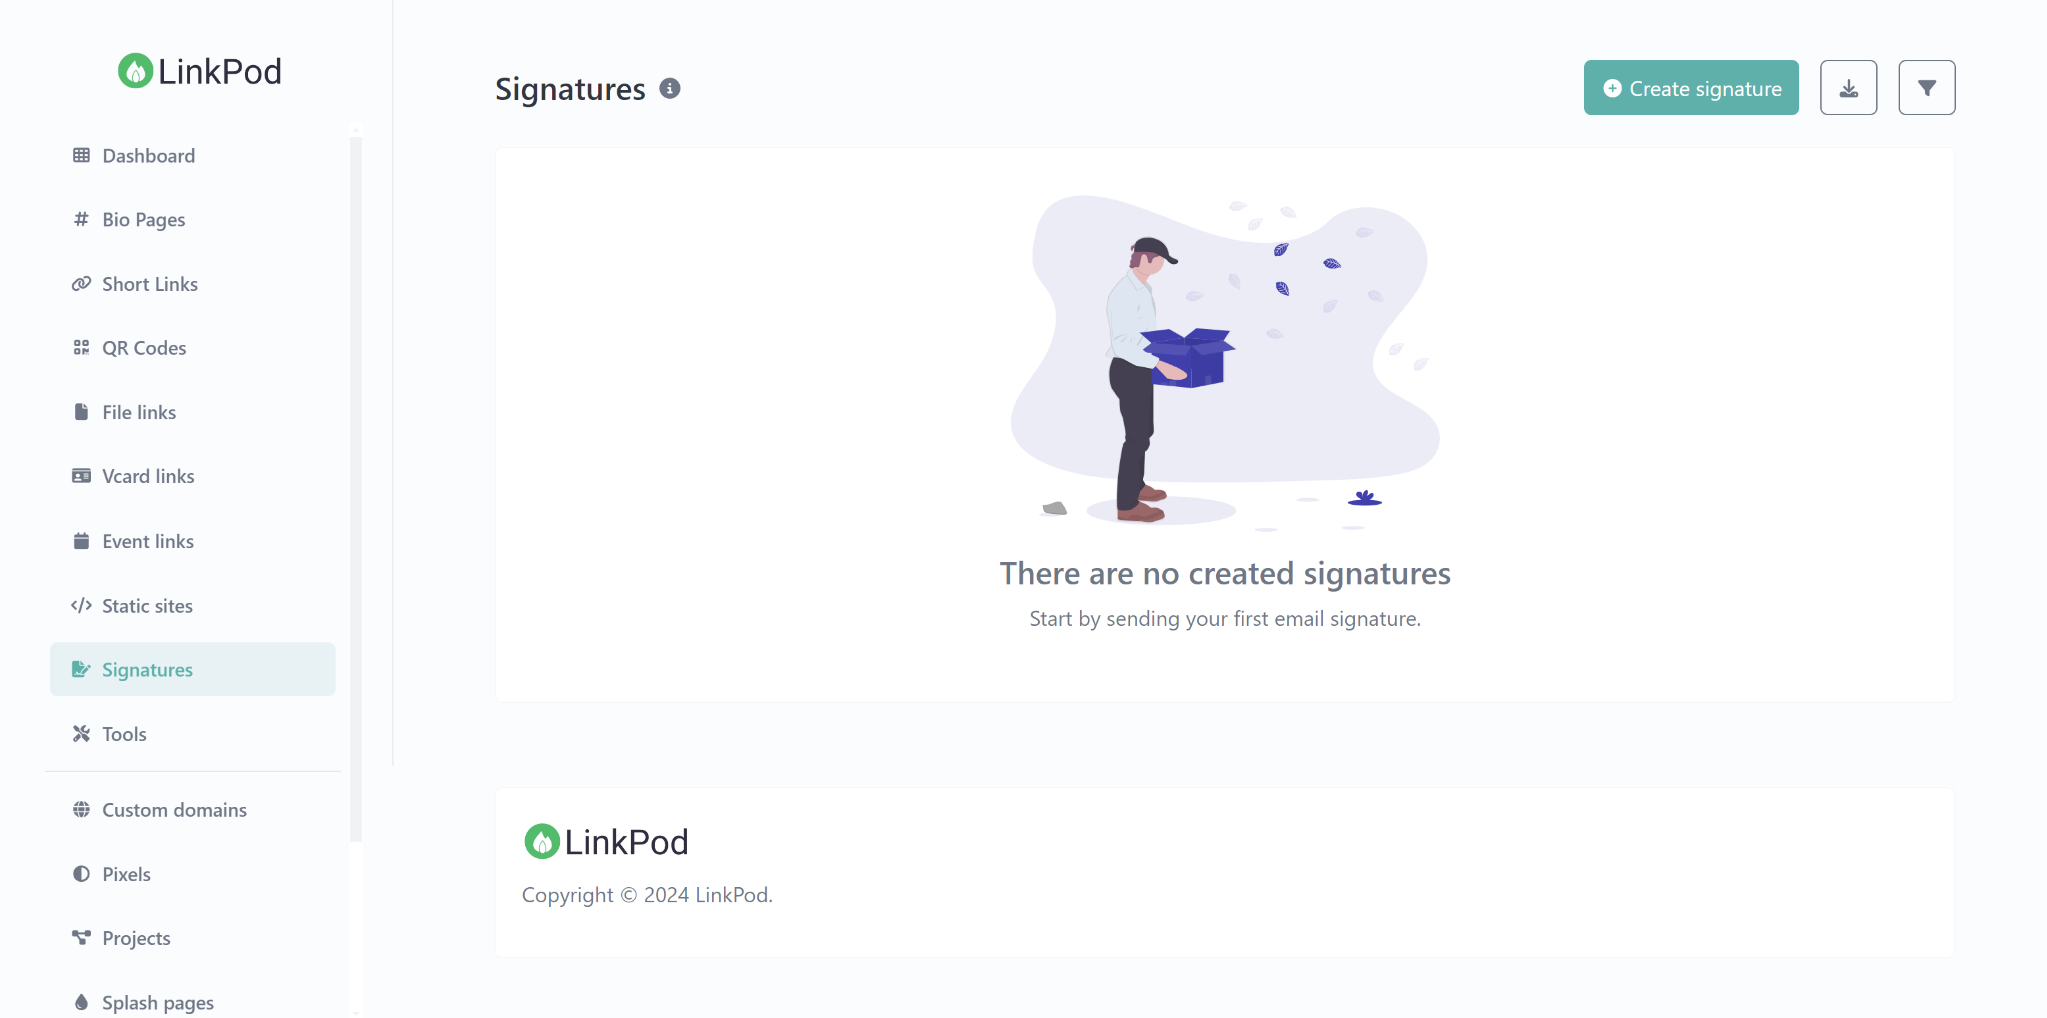
Step 1: Accessing the Email Signatures Page
- Navigate to Signatures: On the left-hand menu of the LinkPod dashboard, click on "Signatures" to enter the email signature section.
- Create a New Signature: In the Signatures section, click the green "Create signature" button on the right to start creating a new email signature.
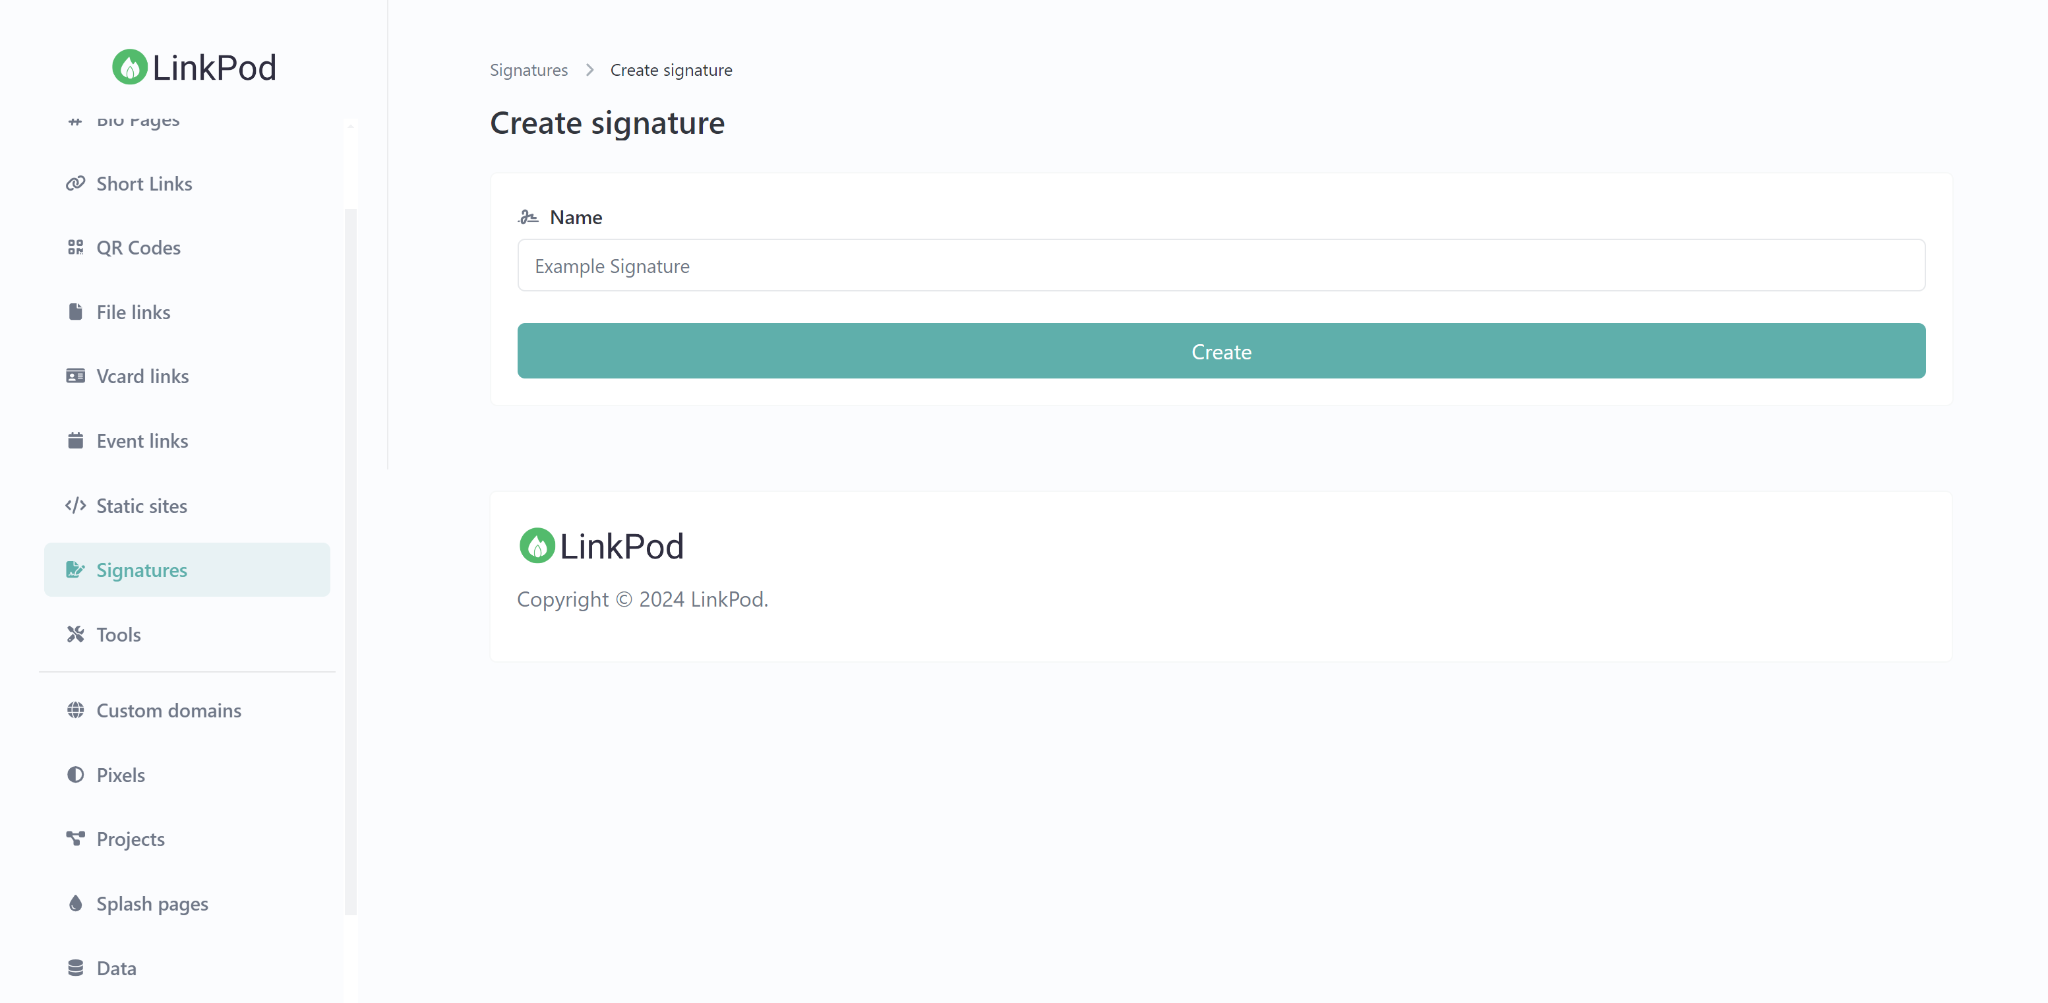
Step 2: Naming Your Signature
- Enter Signature Name: In the "Create signature" screen, enter a name for your signature in the "Name" field. This name helps you identify your signature, especially if you have multiple signatures for different purposes.
- Save Signature Name: Click the "Create" button to save the name and proceed to the main settings for the signature.
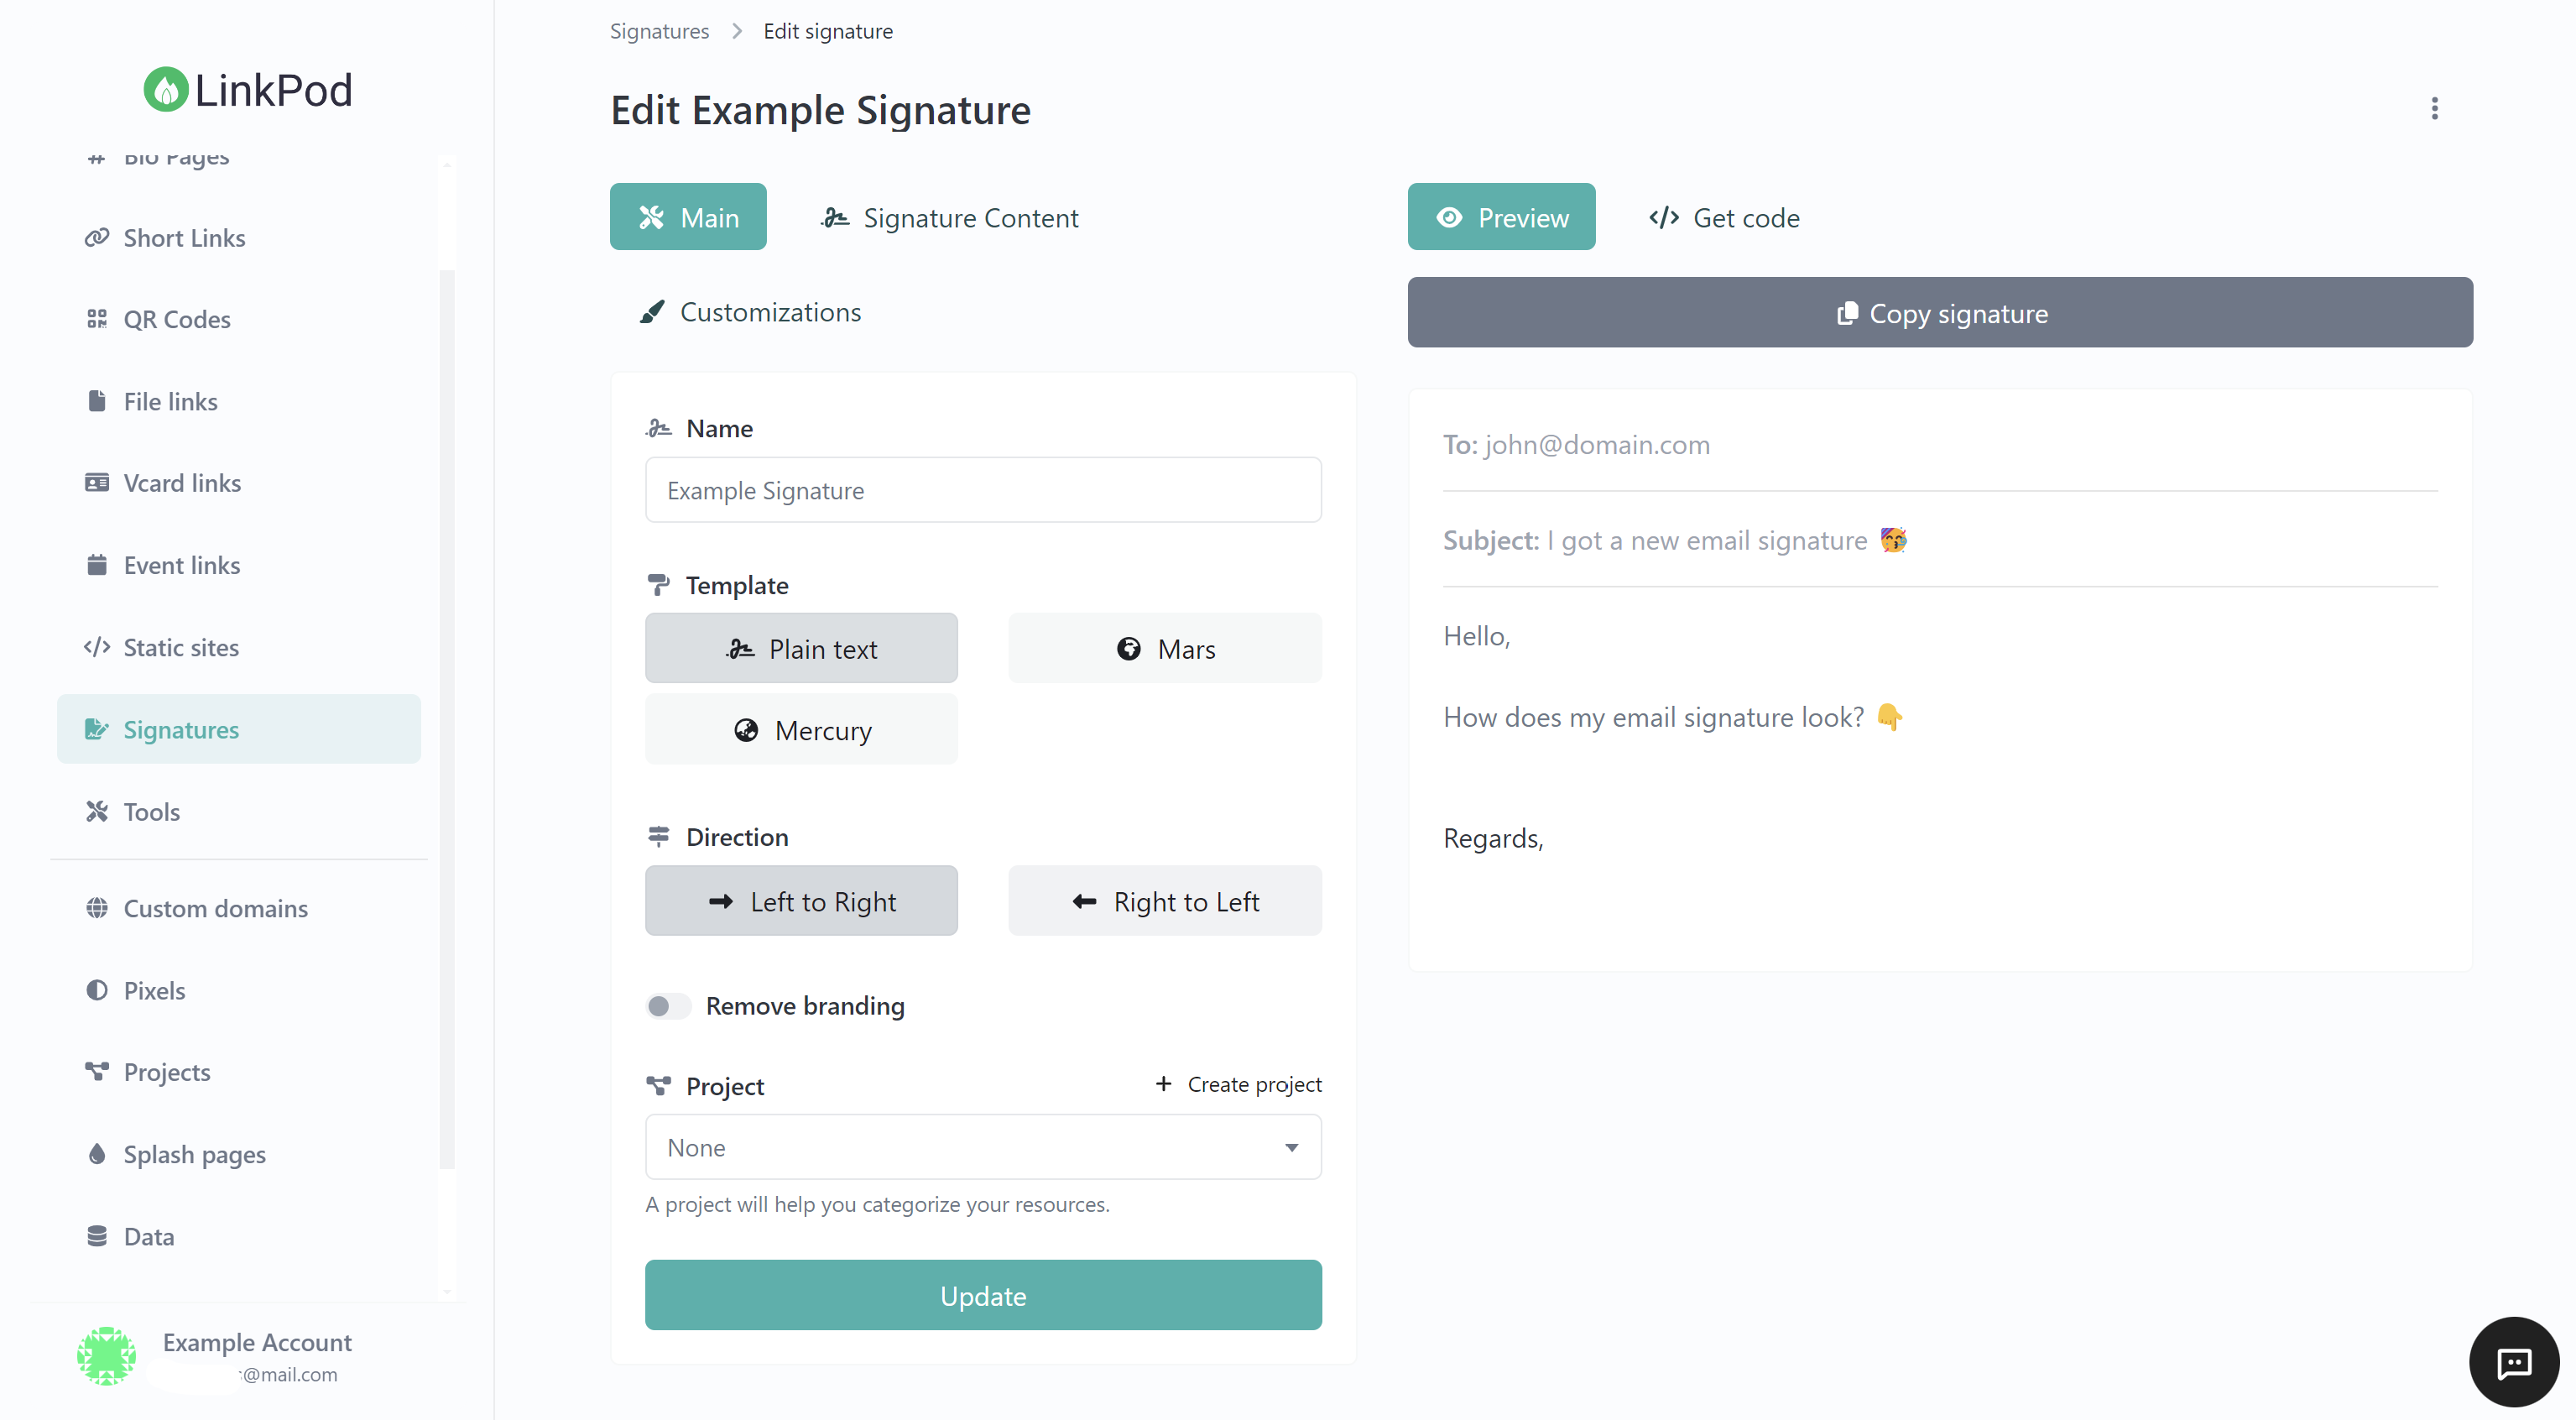
Step 3: Configuring Main Settings
- Access Main Settings: In the "Edit Example Signature" screen, you are in the "Main" settings tab by default.
- Set the Template: Choose from available templates such as "Plain text," "Mars," or "Mercury." Templates offer pre-designed styles that can be customized further.
- Configure Text Direction: Select the text direction: "Left to Right" or "Right to Left," depending on your language and formatting needs.
- Remove Branding (Optional): Toggle the "Remove branding" option if you want to eliminate any default branding from your email signature.
- Assign to Project: Optionally, you can assign your signature to a project to keep it organized. Click "Create project" if you want to add a new project.
- Update Settings: Click the "Update" button to save these settings before moving on to content customization.
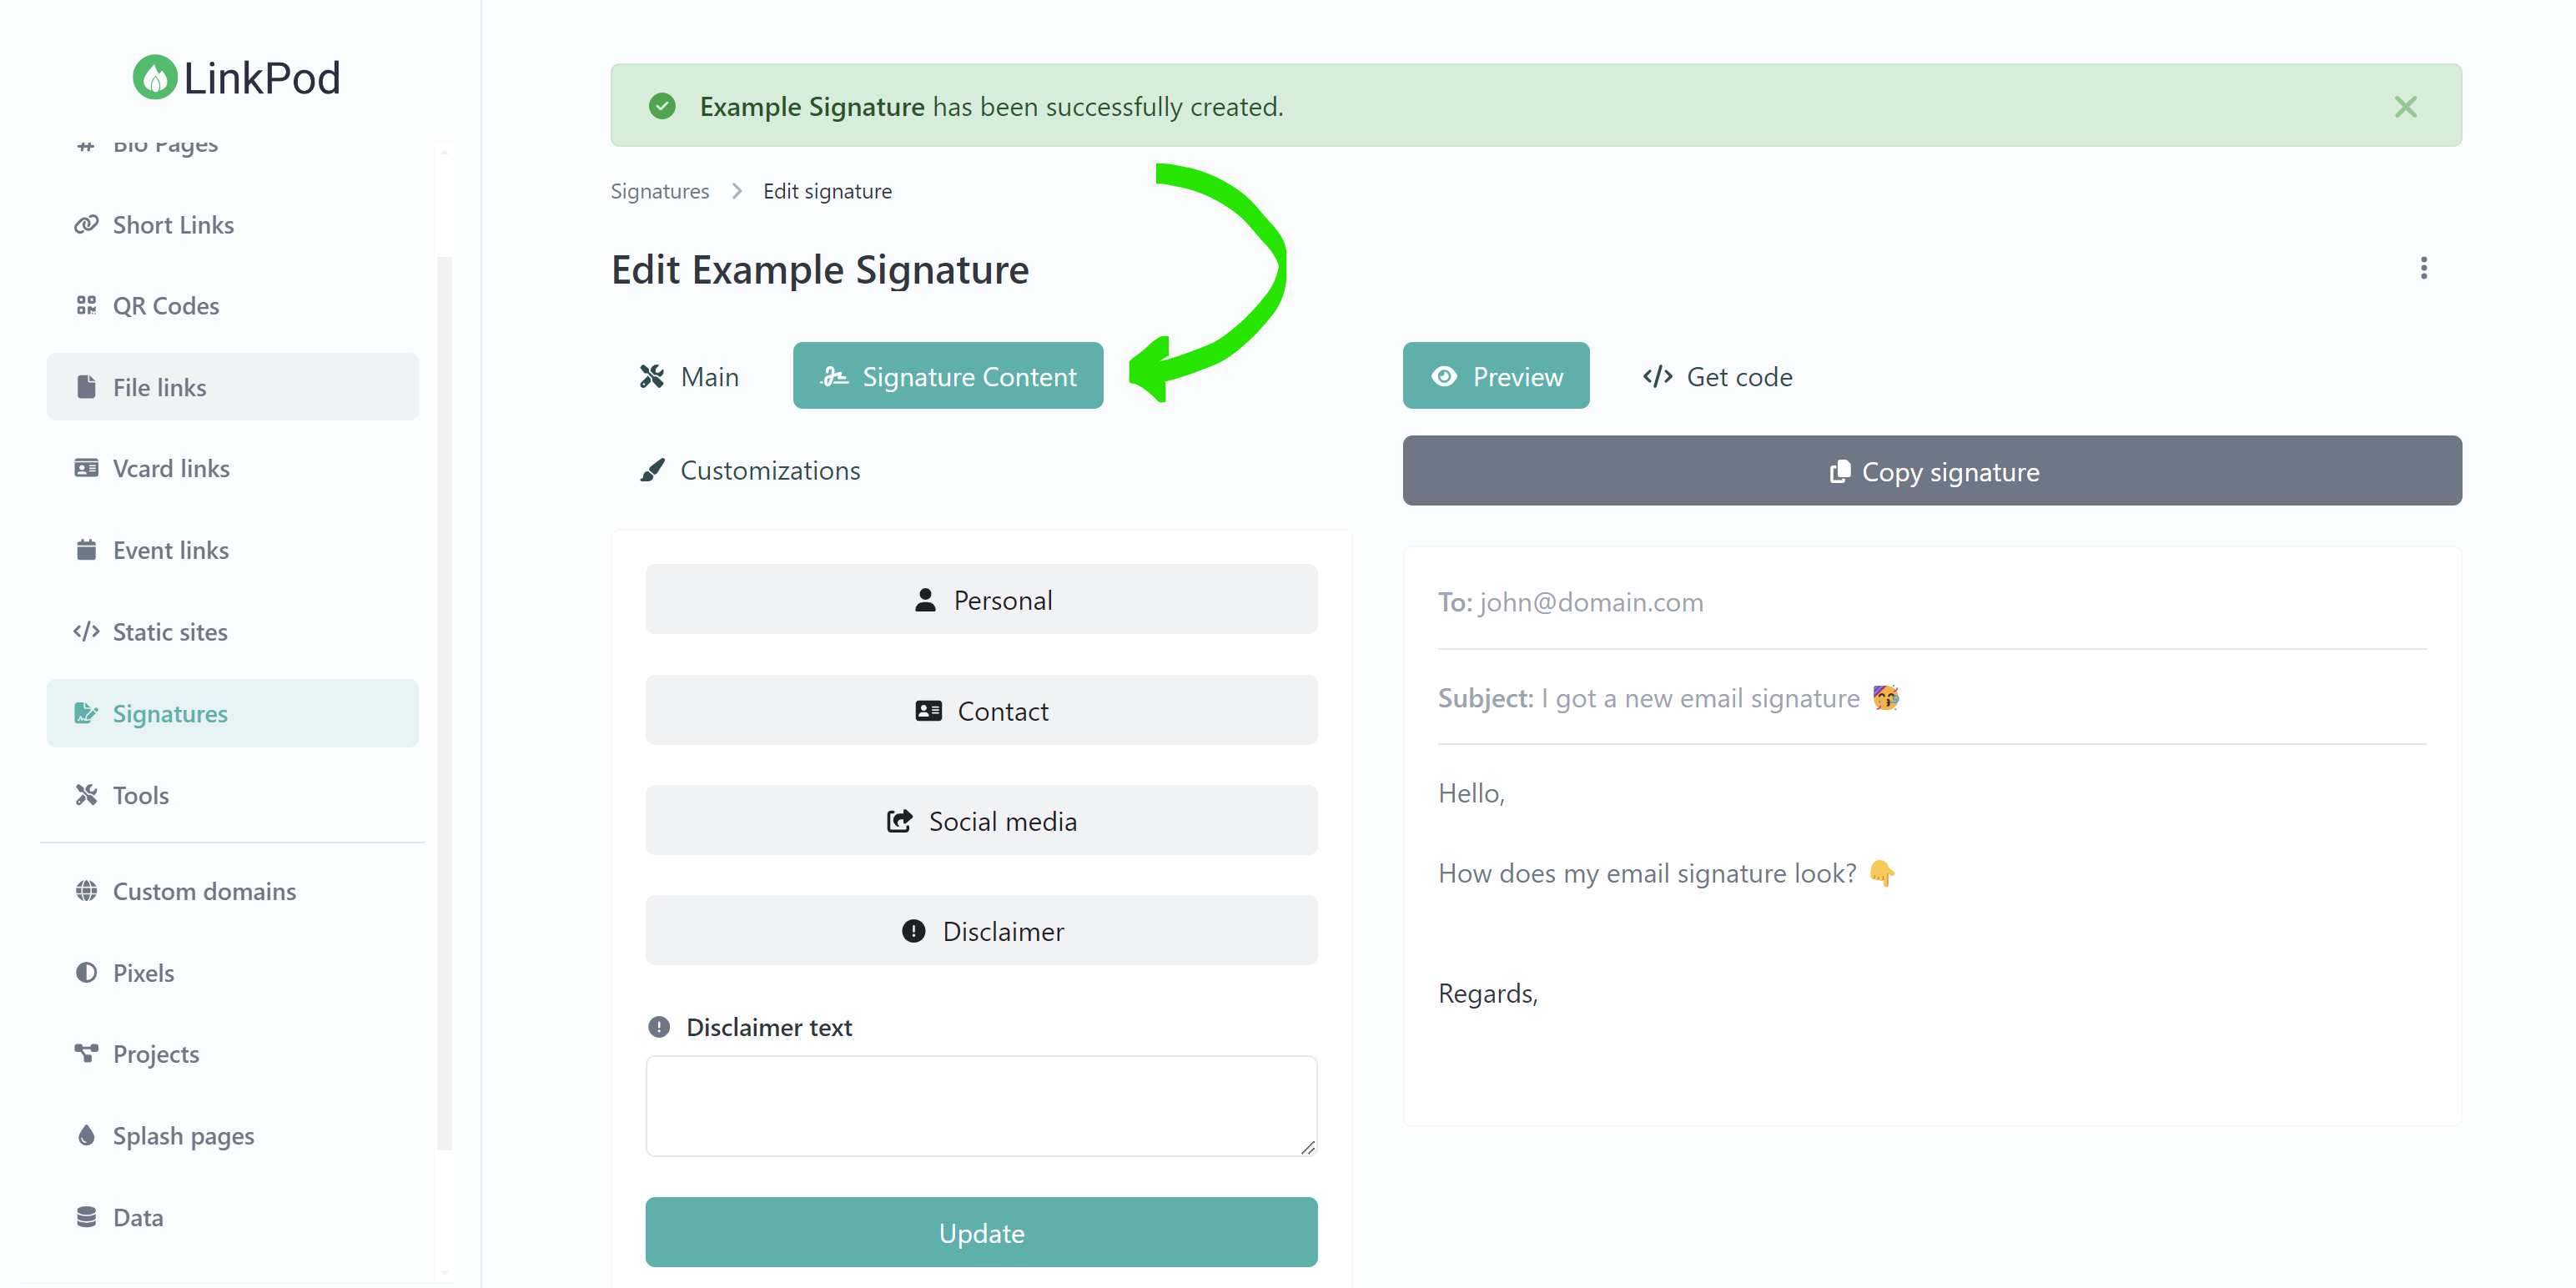
Step 4: Adding Signature Content
- Switch to Signature Content Tab: Click on the "Signature Content" tab to begin adding the detailed content to your signature.
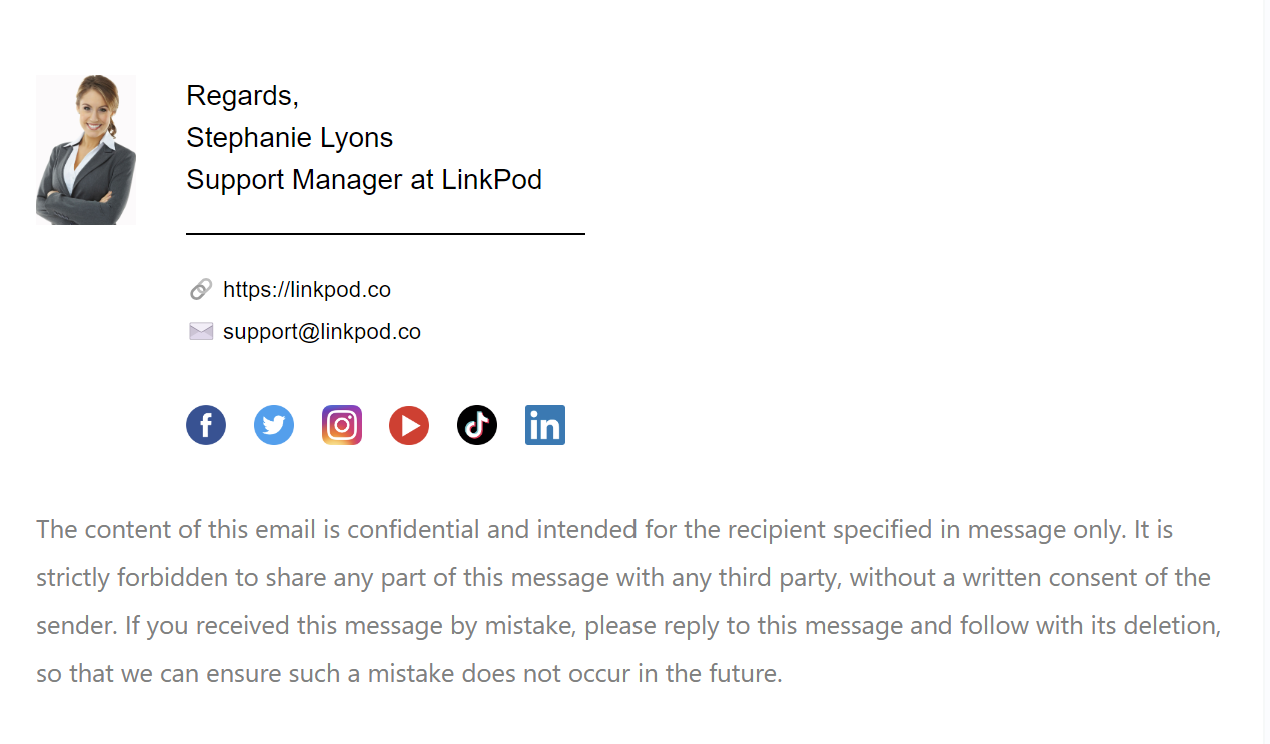
- Personal Details: Enter your personal details such as:
- Image URL: Upload an image (e.g., a profile picture).
- Sign Off: Add a closing phrase like "Regards."
- Full Name: Your name.
- Job Title: Your professional title.
- Department: The department you belong to.
- Company: The company you represent.
- Contact Information: Fill in your contact details including:
- Email: Your email address.
- Website URL: Link to your website.
- Address: Your physical address.
- Phone Number: Your contact number.
- Social Media: Links to your social media profiles (e.g., Facebook, Twitter, LinkedIn, etc.).
- Additional Fields: Include any additional information like disclaimers or custom fields specific to your needs.
- Save Content: Click "Update" to save the content you've added to your signature.
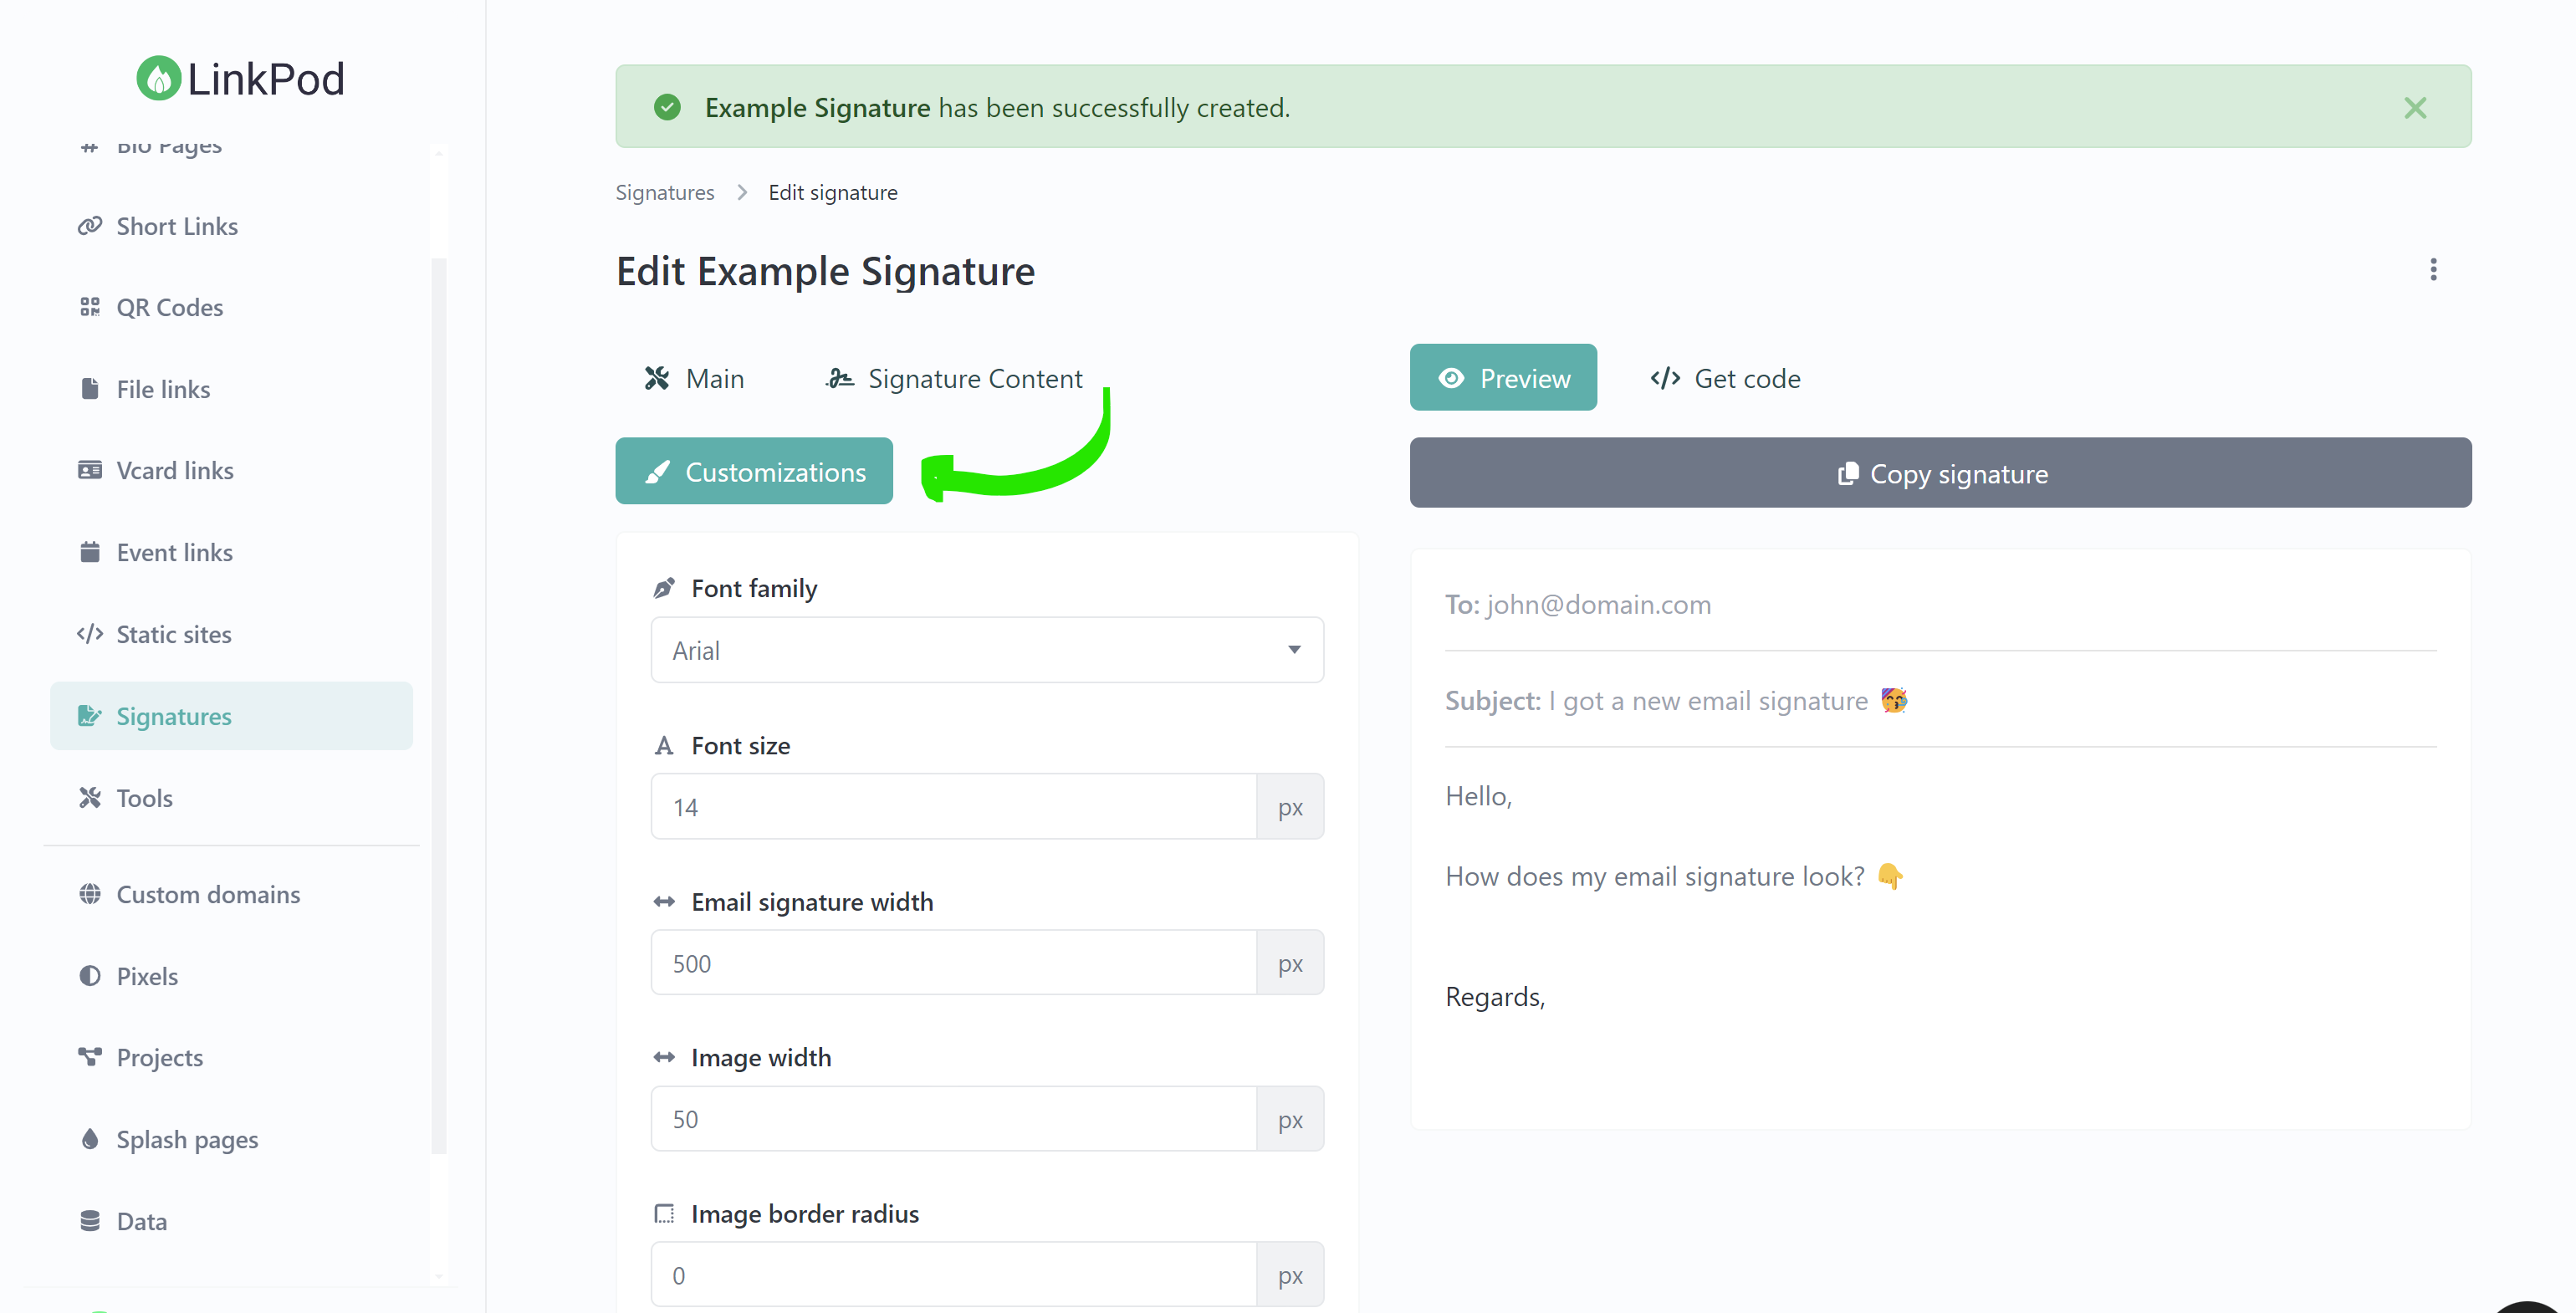
Step 5: Customizing Appearance
- Switch to Customizations Tab: Click on the "Customizations" tab to adjust the visual elements of your signature.
- Font and Color Settings:
- Font Family: Choose a font style.
- Font Size: Set the size of the text.
- Theme Color: Select a color theme for your signature.
- Image and Icon Settings:
- Image Width: Specify the width of any images included.
- Icon Size and Padding: Adjust the size and spacing of social media icons.
- Separator and Text Colors:
- Separator Size: Define the thickness of lines used to separate sections.
- Full Name, Text, and Link Colors: Customize the colors for your name, text, and any links.
- Save Customizations: After adjusting these settings, click the "Update" button to apply the changes.
By following these steps, you can create a customized email signature in LinkPod that not only looks professional but also effectively represents your personal or business brand. Use the preview option to review your signature and ensure it meets your expectations before copying the signature code for use in your email client.
If you need further assistance or have any questions about specific features, feel free to reach out for support!