Welcome to the comprehensive guide for using the Event Link feature in LinkPod! This feature allows you to create branded links for your events, which when clicked, can directly add the event details to the user's calendar, ensuring that they never miss out. Follow these steps to set up your event links effectively.
Step 1: Accessing the Event Links Feature
Login to LinkPod:
- Navigate to the LinkPod dashboard.
- Log in with your credentials.
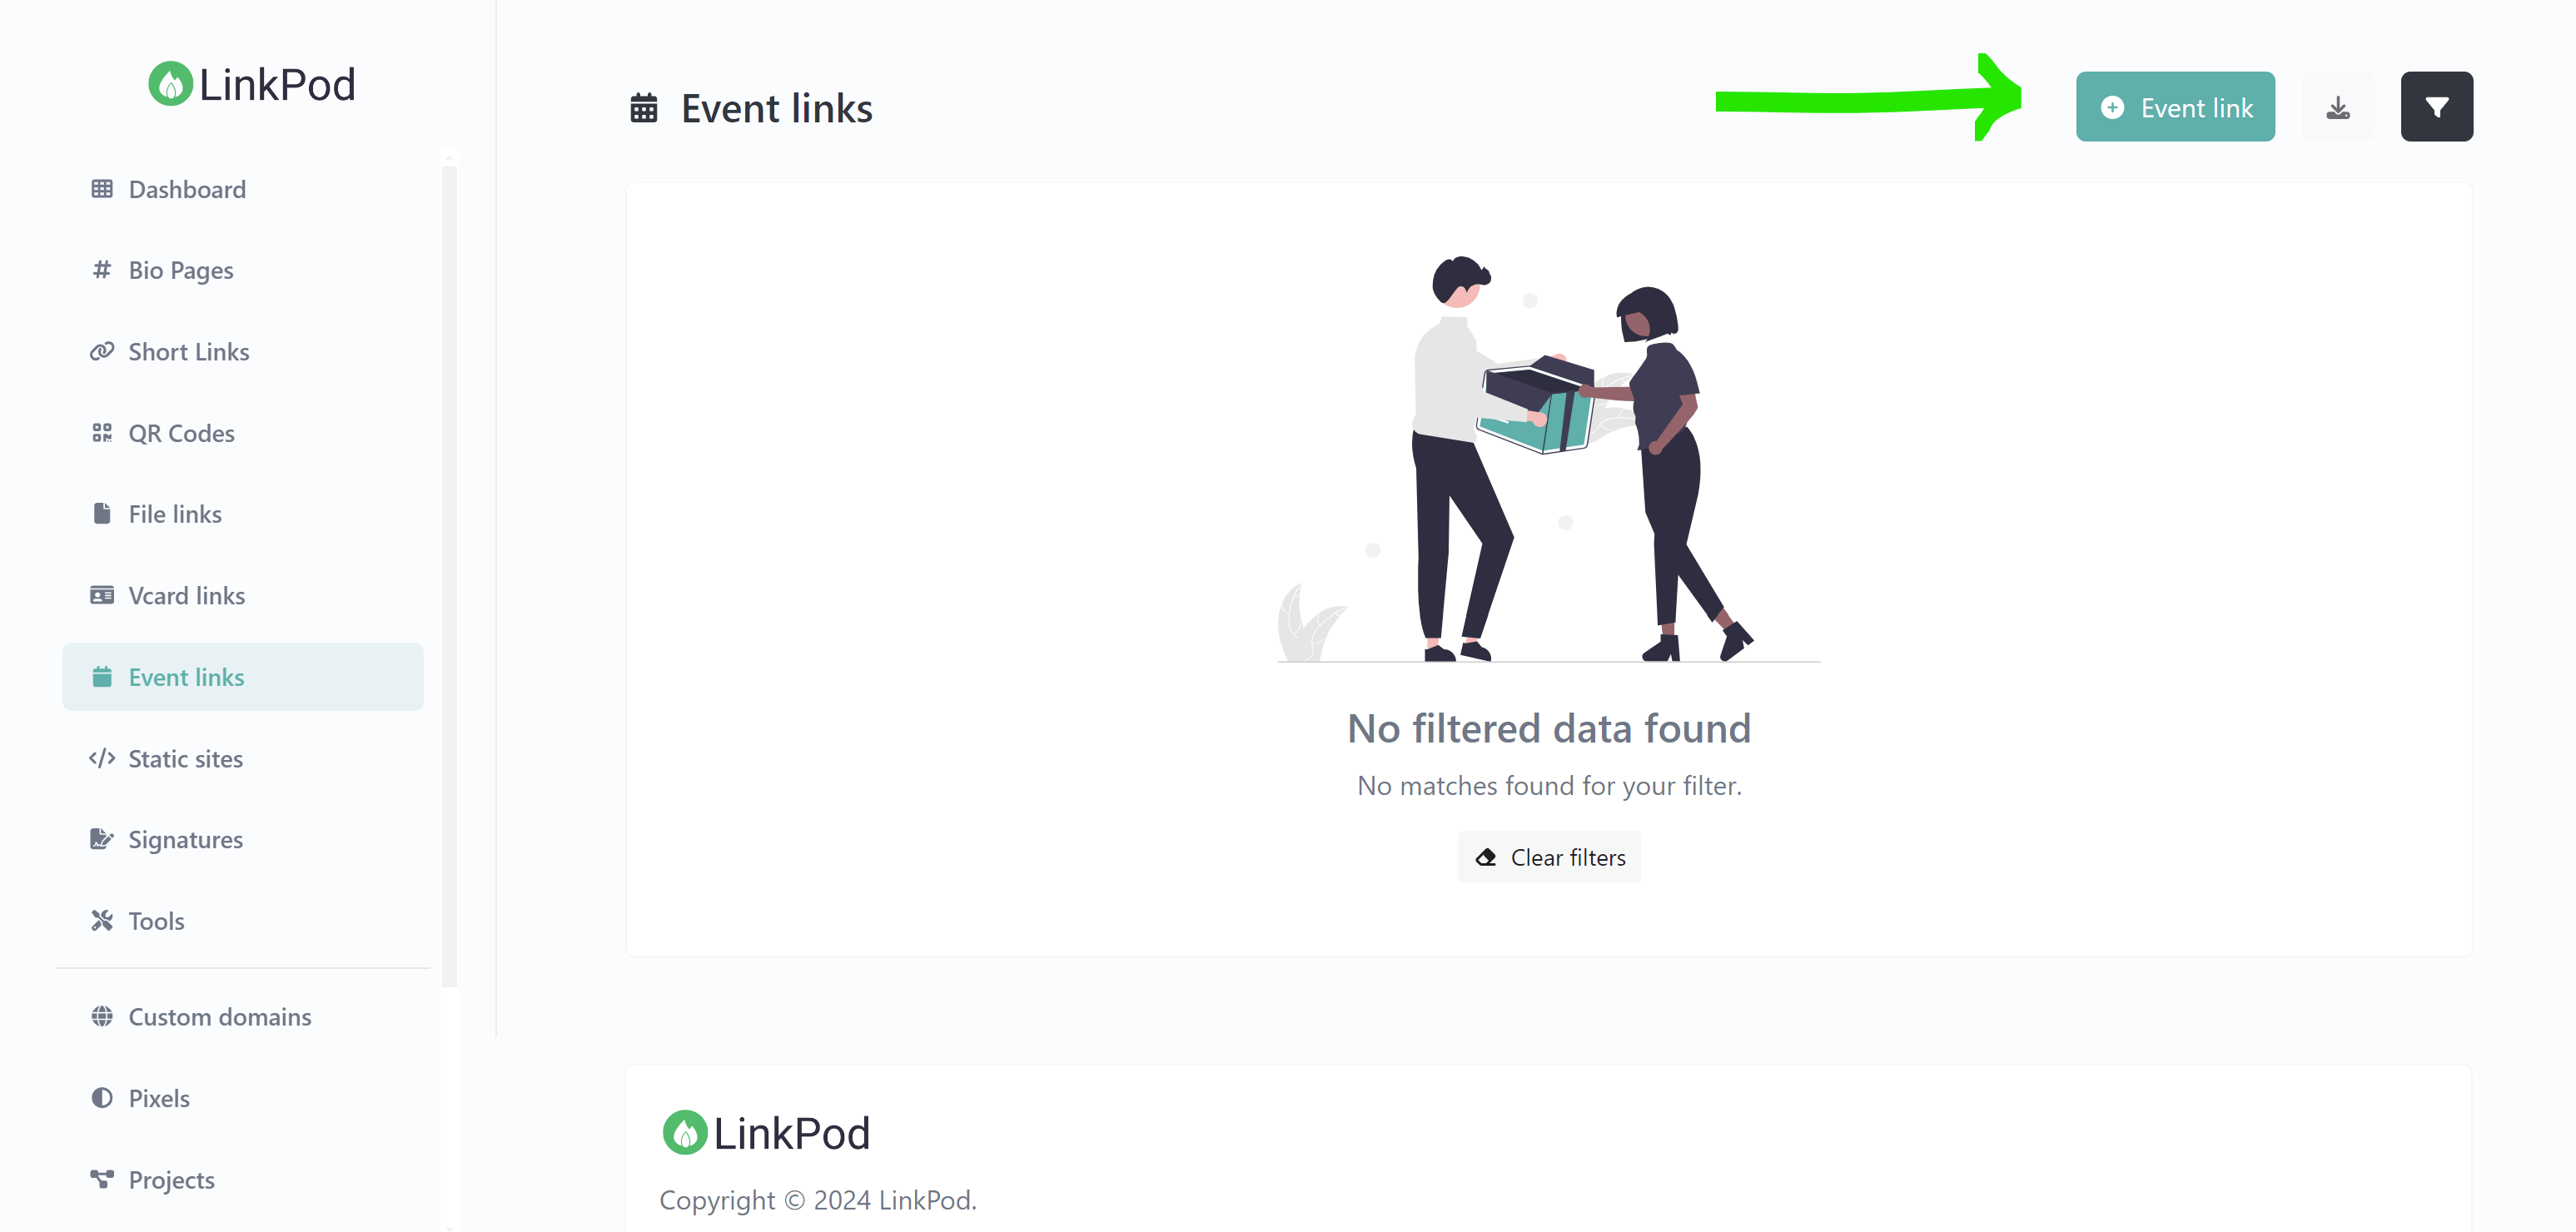
Navigate to Event Links:
- On the left sidebar, click on the “Event links” option.
Step 2: Setting Up Your Event Link
Create a New Event Link:
- Click on “+ Create new link”.
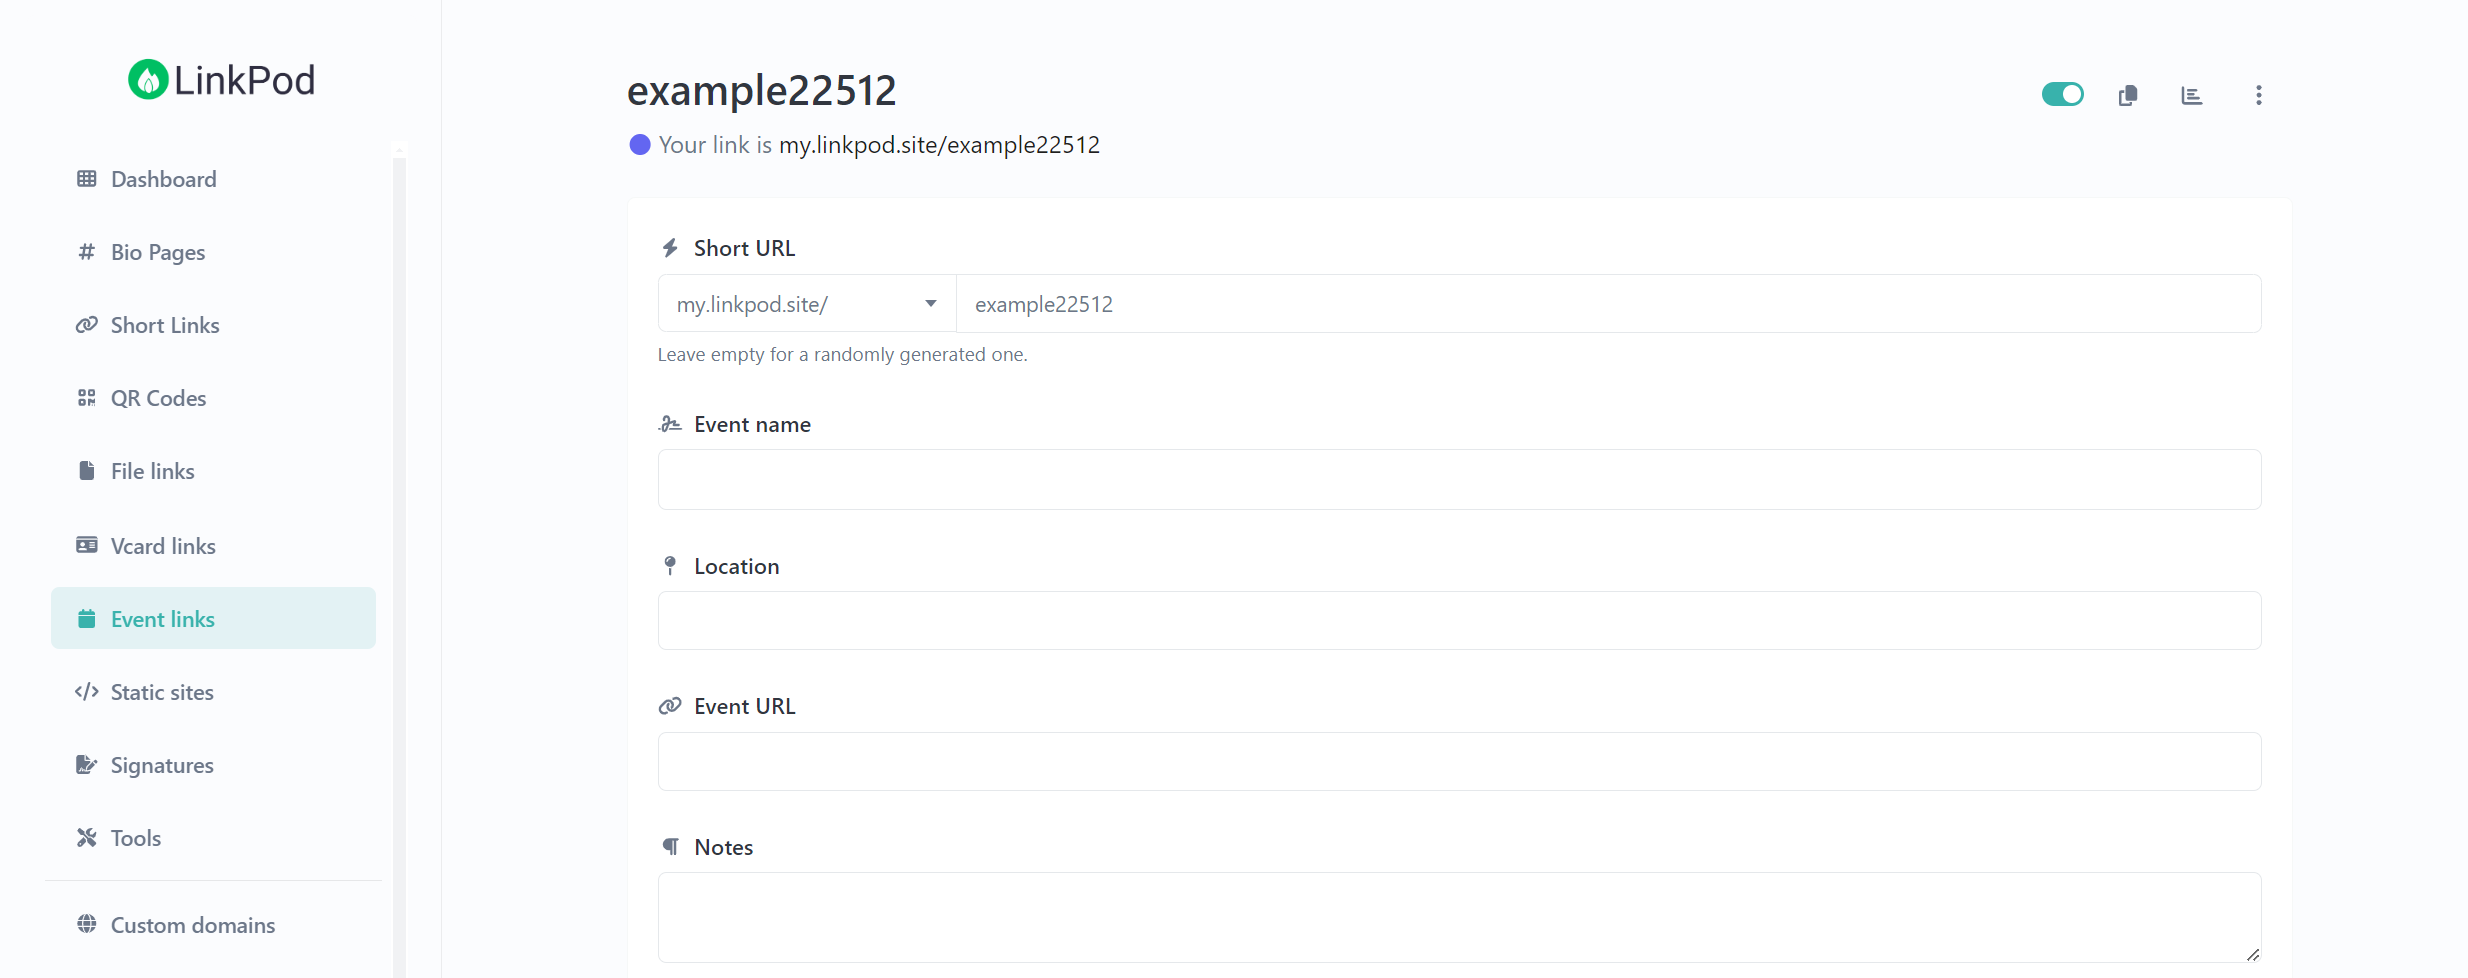
Choose a Domain and Path:
- You will be prompted to choose a domain and path for your event link. Don't worry, you can change this later!
- If you have access to custom domains, you can select one of those instead of the default LinkPod domain. Select the desired domain from the dropdown list (click on the domain to see the dropdown)

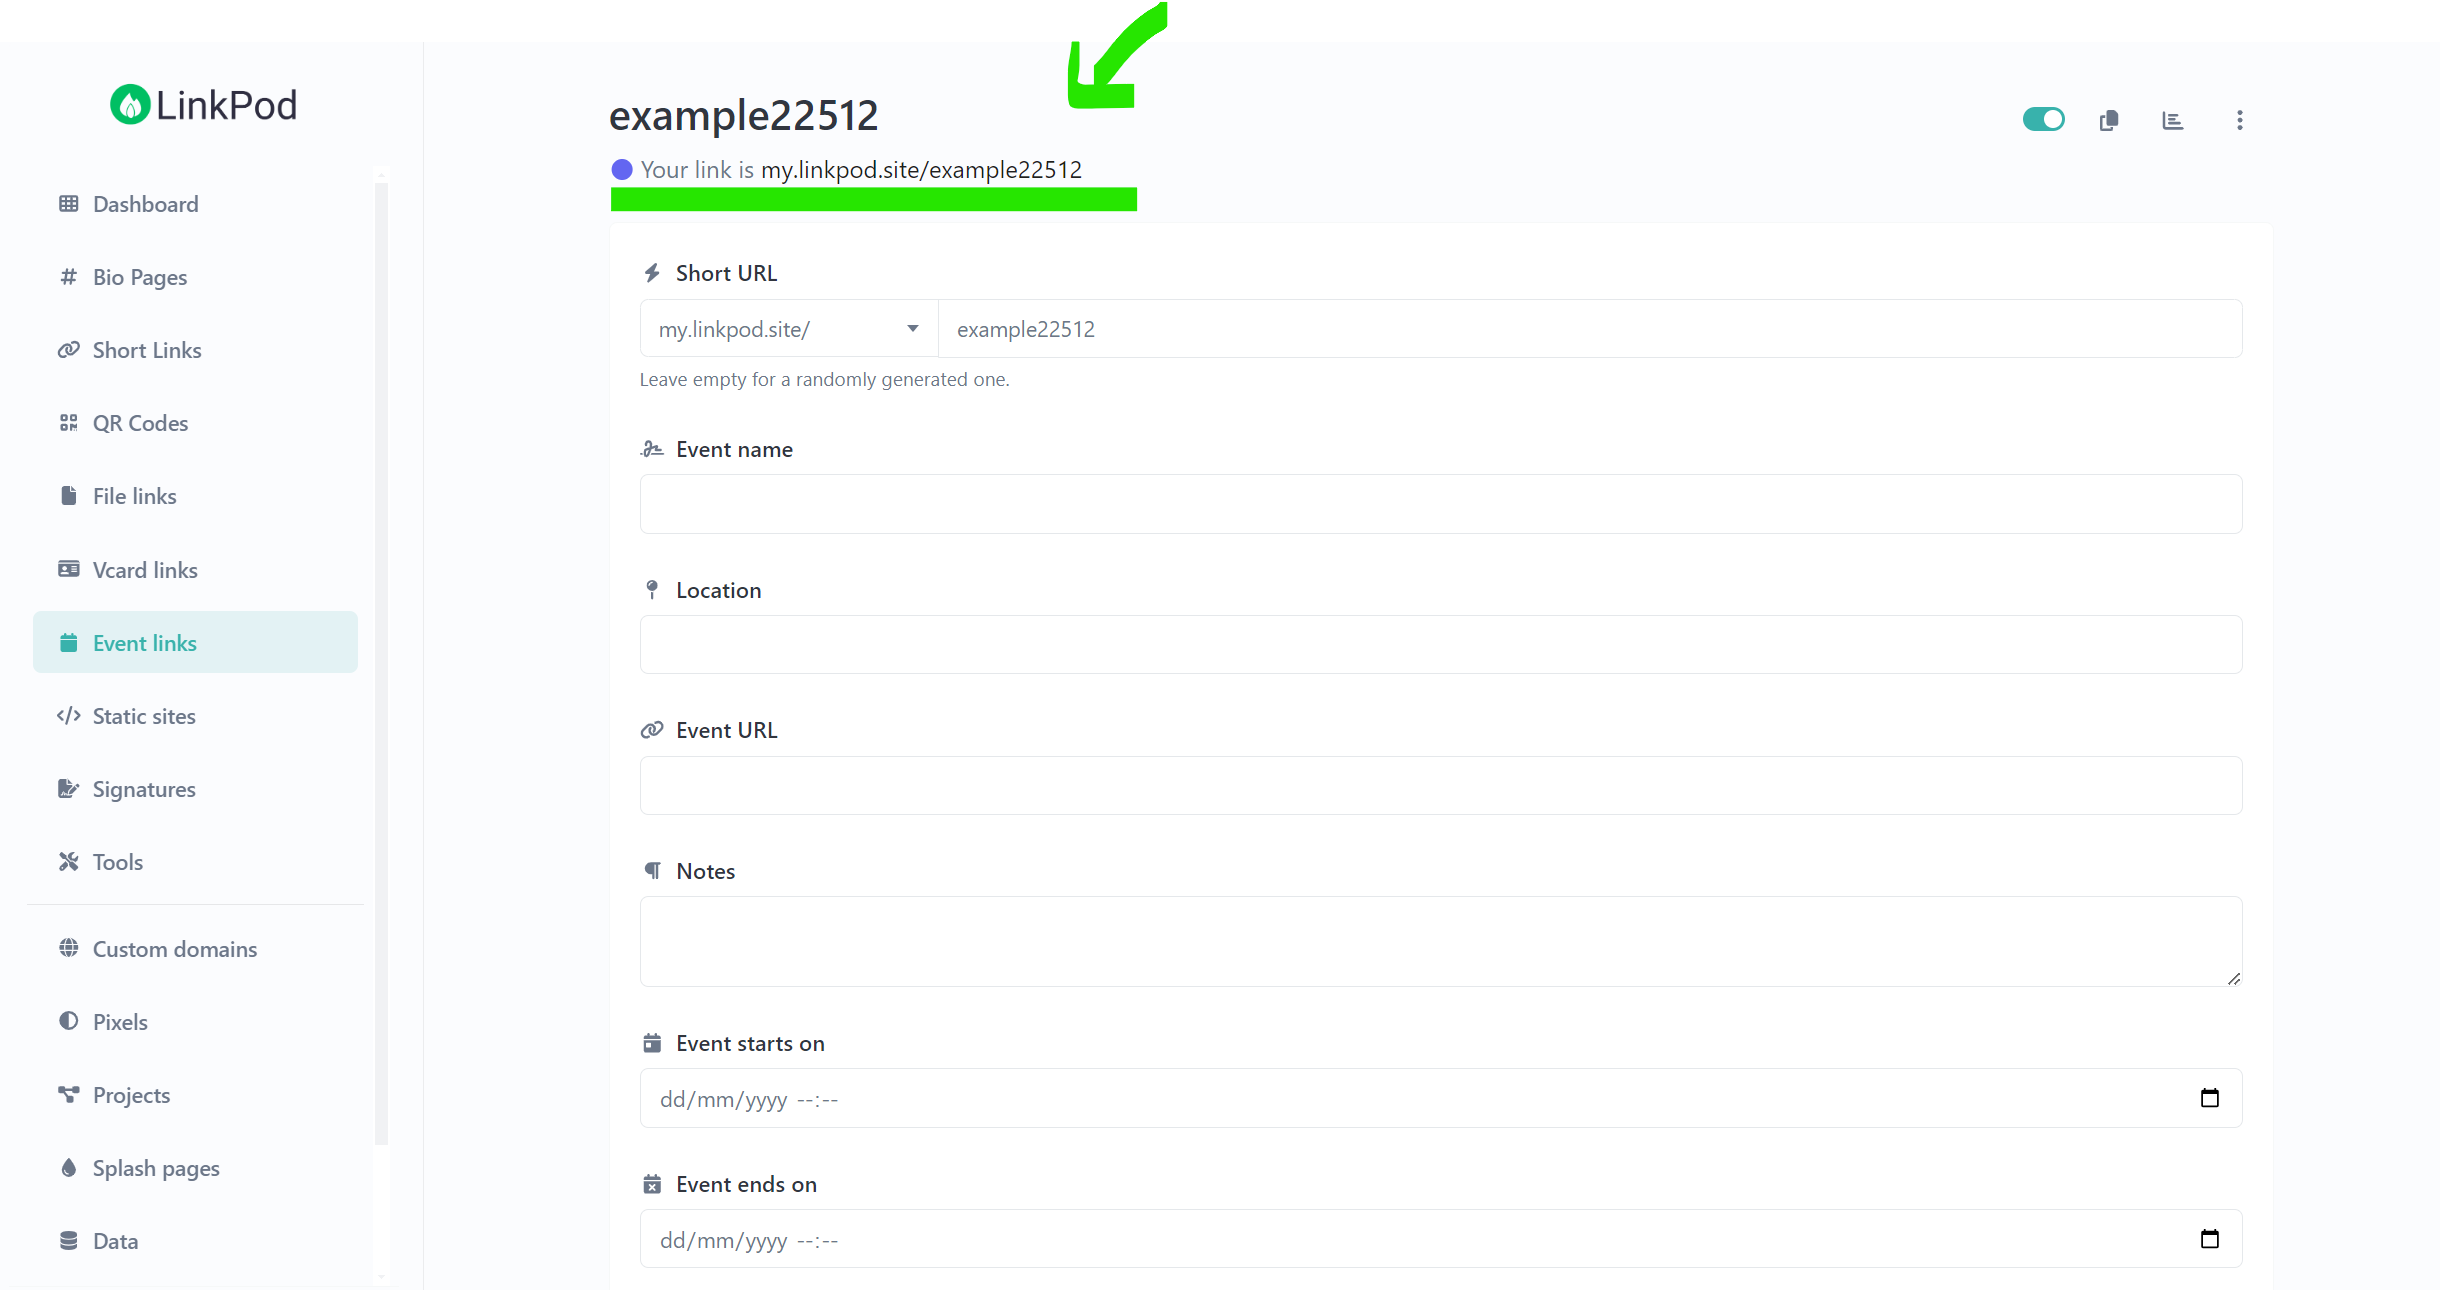
Customize Your Event Link:
- Short URL: Choose a memorable URL or leave it blank to generate one automatically.
- Event Name: Enter the name of your event (e.g., "Tech Conference 2024").
- Location: Specify the event's location.
- Event URL: Provide a URL to the event's main page if available.
- Notes: Add any additional notes or details about the event.
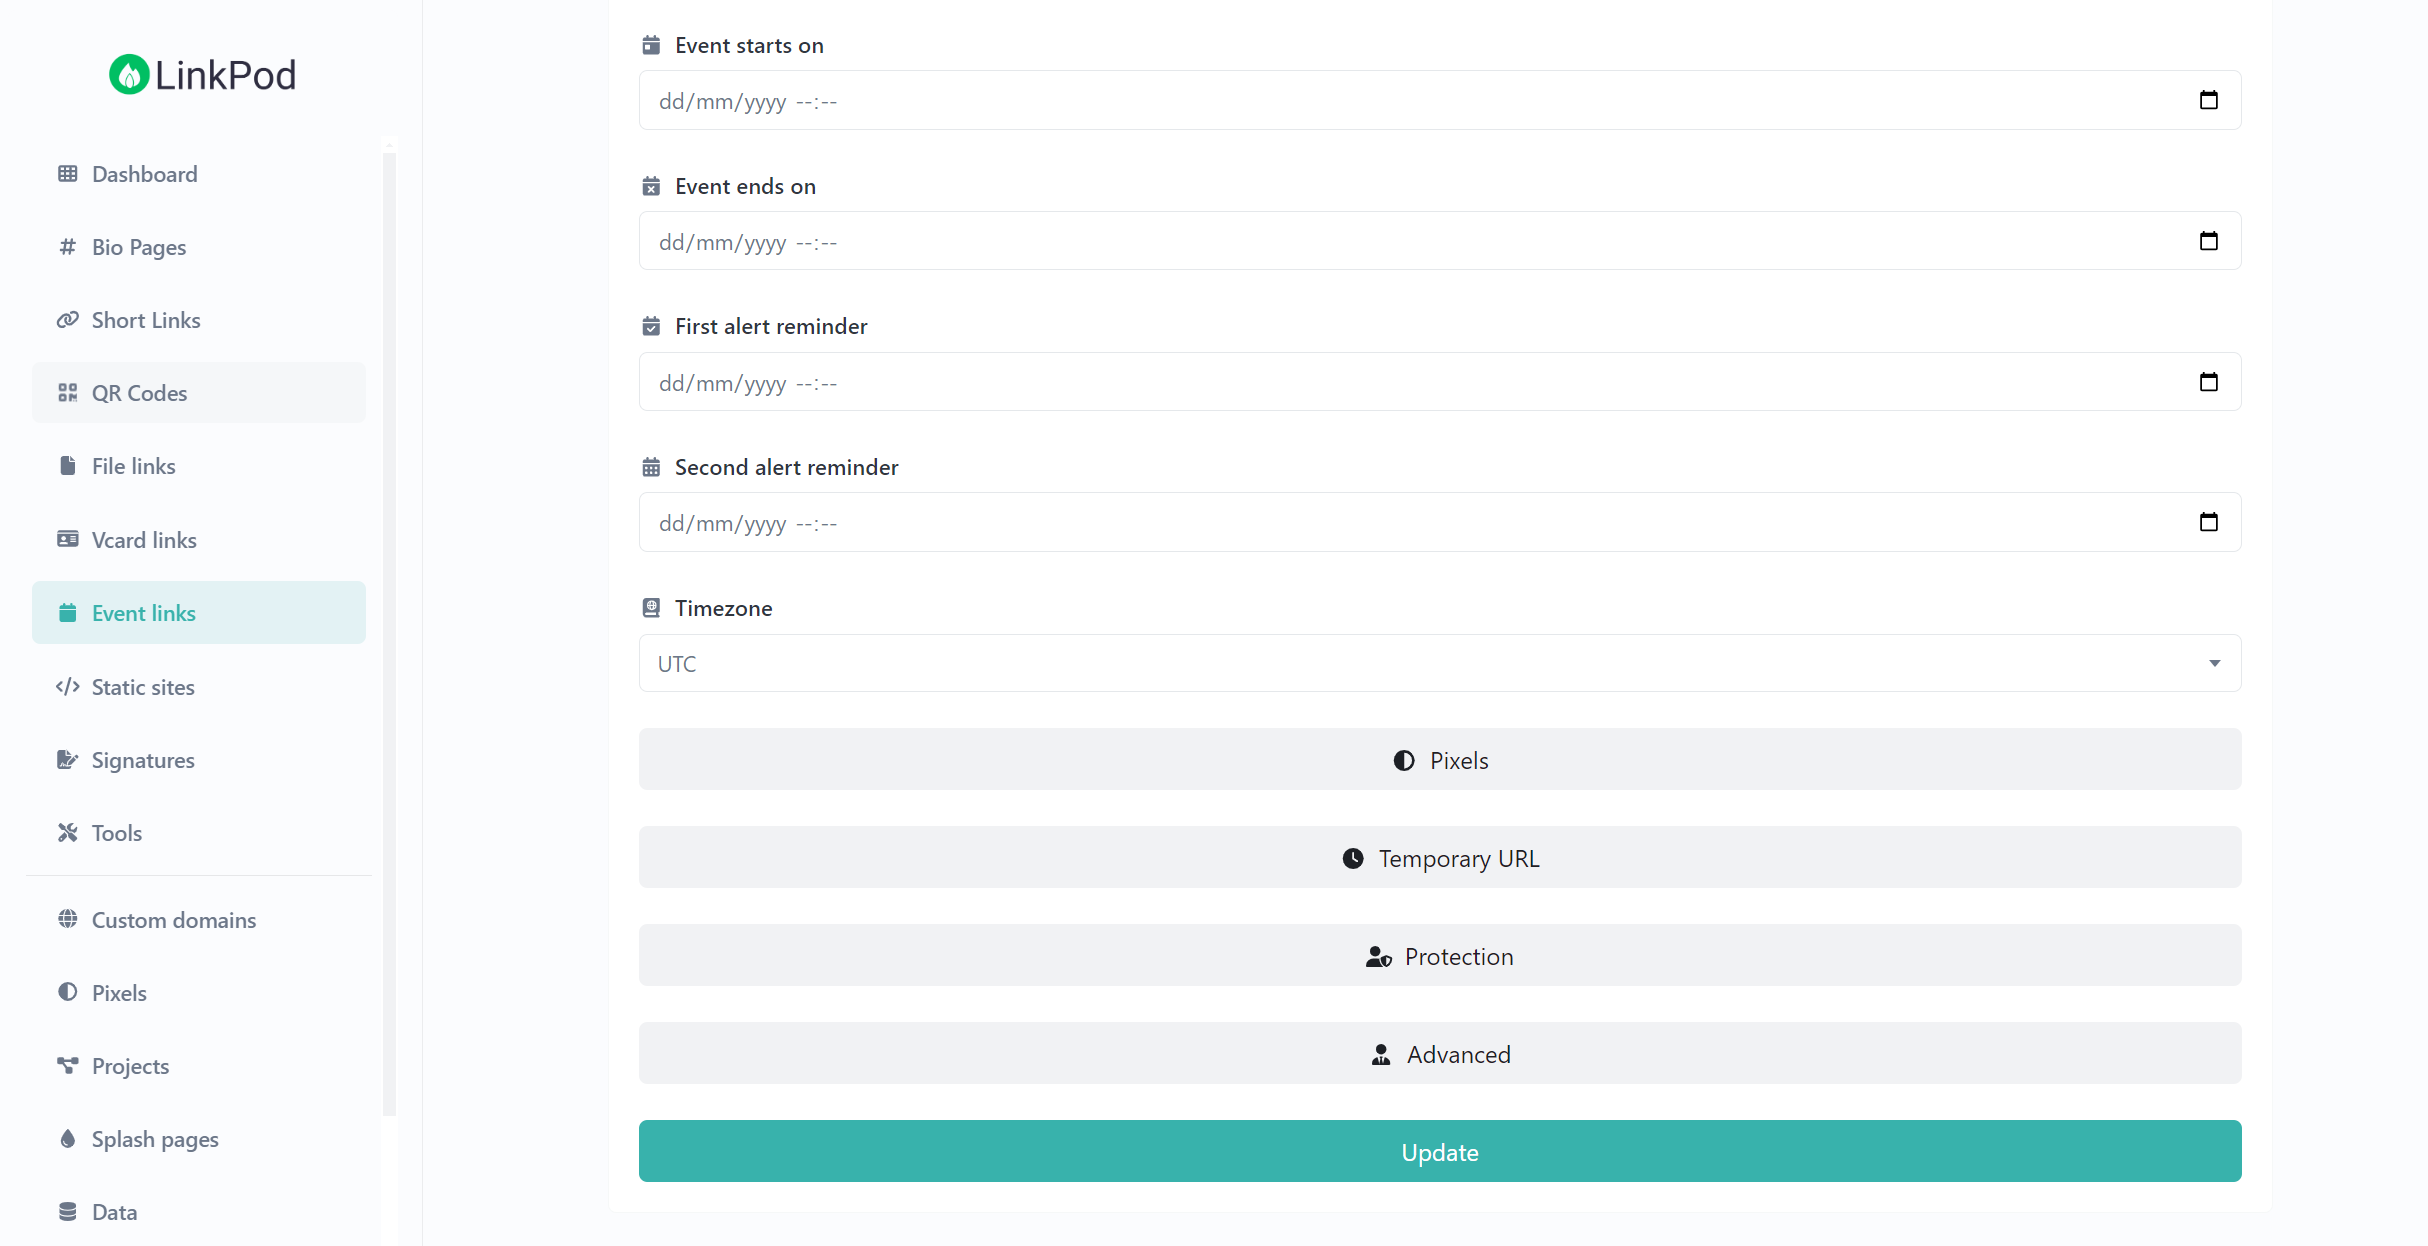
Set Event Date and Time:
- Event Starts On: Select the start date and time of your event.
- Event Ends On: Select the end date and time.
Schedule Reminders:
- First Alert Reminder: Set a date for the first reminder.
- Second Alert Reminder: Set a date for the second reminder.
- Timezone: Select the appropriate timezone for your event.
Step 3: Configuring Link Options (Optional)
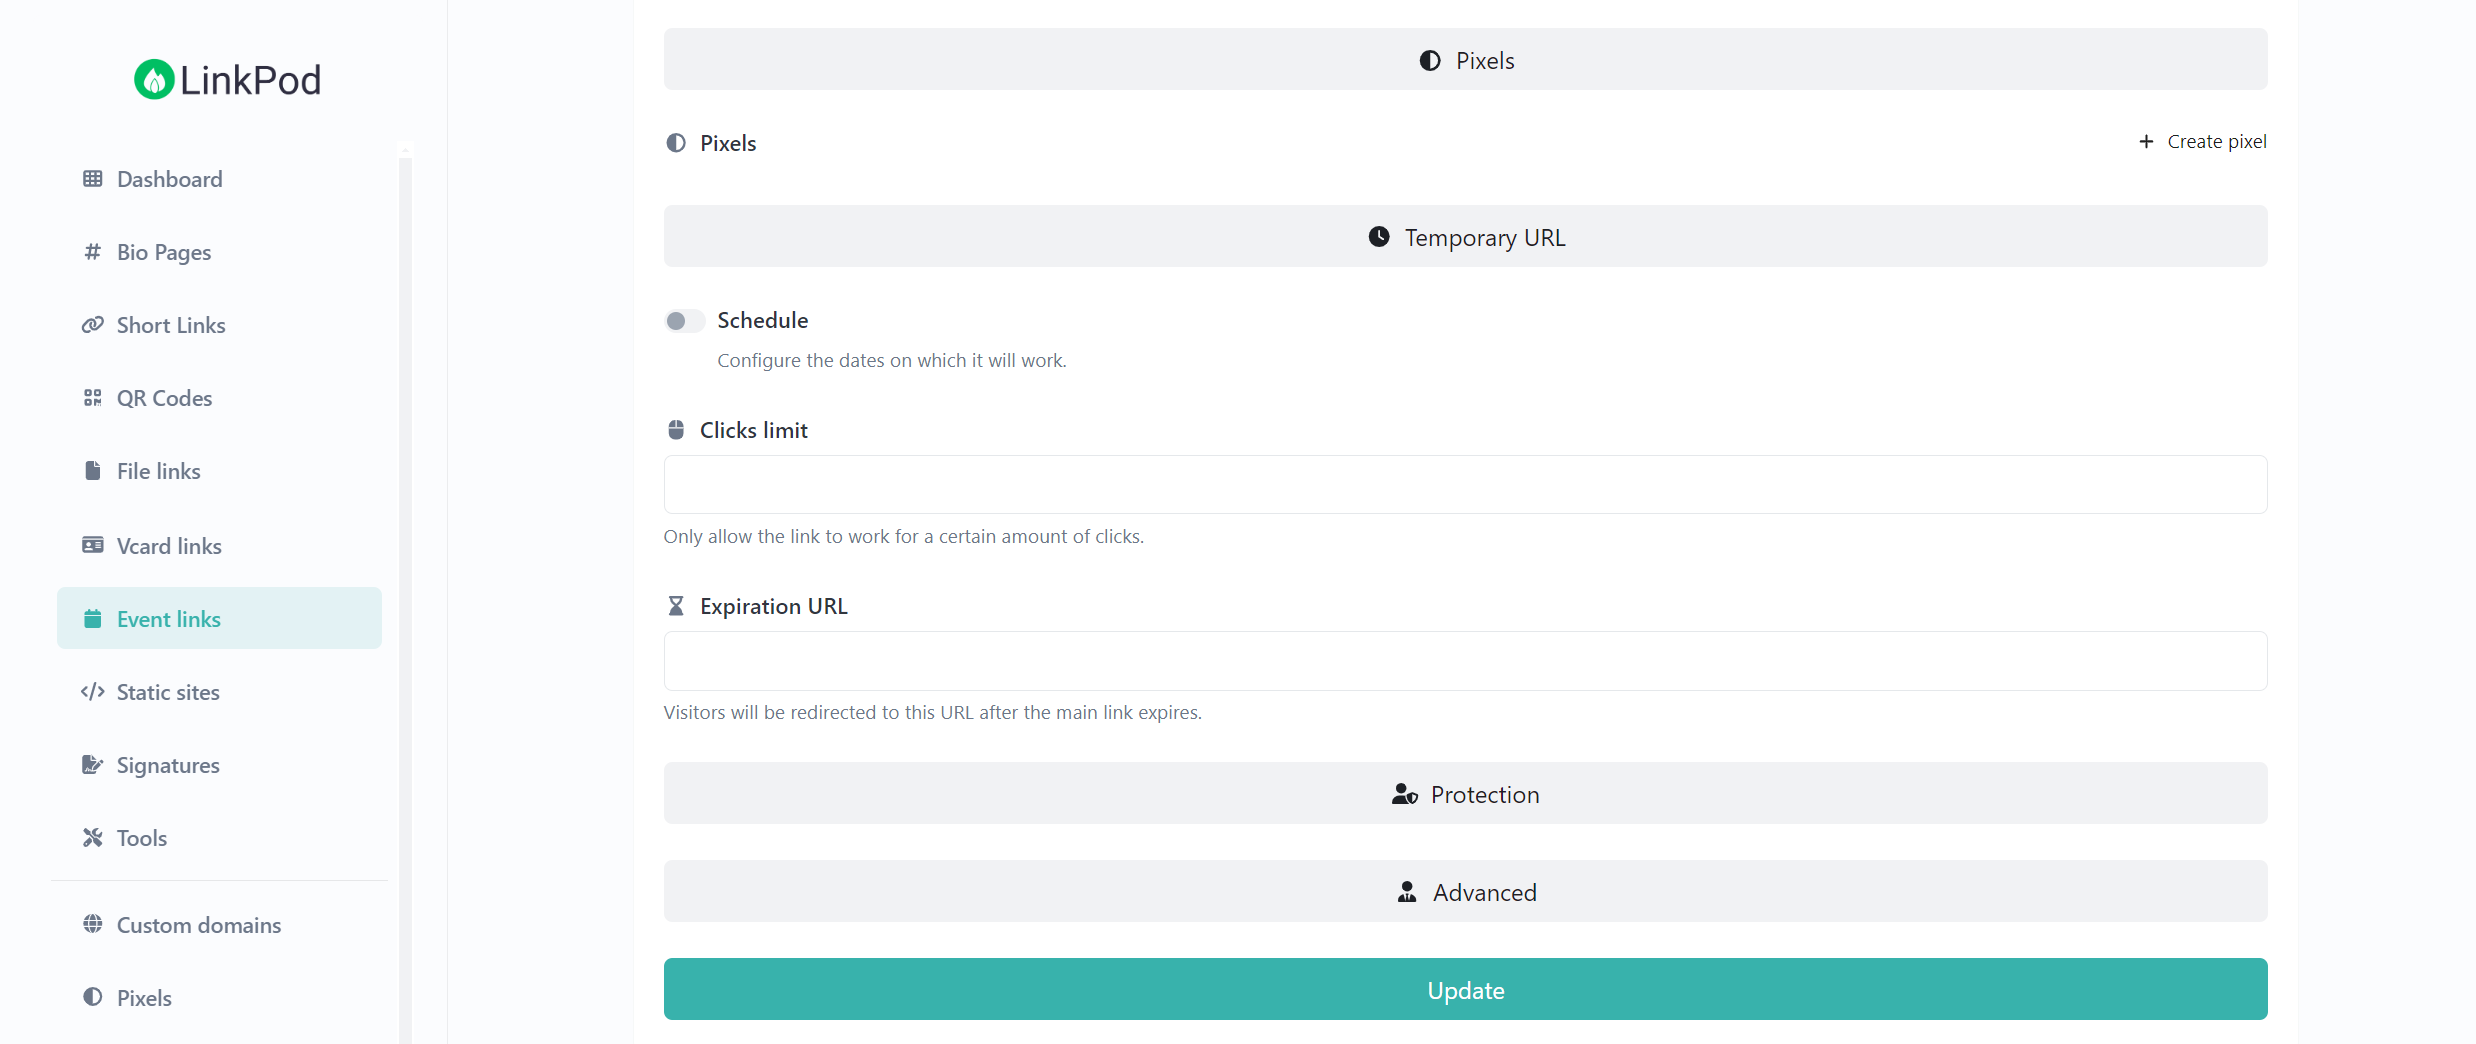
Tracking and Pixels:
- Pixels: Add tracking pixels to measure and analyze traffic (optional).
Temporary URL:
- Schedule: Set the active period for the event link.
- Clicks Limit: Specify the maximum number of clicks allowed.
- Expiration URL: Provide a URL to redirect users after the link expires.
Step 4: Adding Security and Advanced Options (Optional)
Protection:
- Password: Enable and set a password to protect your link.
- Sensitive Content Warning: Enable if your link contains sensitive content requiring user confirmation.
Advanced:
- Project: Assign the event link to a specific project.
- Splash Page: Select a splash page that users will see before accessing the event link.

Step 5: Finalizing and Updating Your Event Link
Review All Details:
- Double-check all information entered for accuracy and completeness.
Update and Activate:
- Click on the “Update” button to save and activate your event link.
Step 6: Managing and Sharing Your Event Link
Manage Links:
- Access your created links from the “Event links” tab.
- Edit, deactivate, or delete links as needed.
Share Your Link:
- Copy the event link and share it with your audience through email, social media, or any other channels.
How It Works:
When users click on the event link, they are prompted to add the event directly to their calendar, ensuring that all the event details are automatically populated in their calendar app. This makes it easy for them to save the date and stay informed about your event.
Troubleshooting Tip: Resolving the "This custom URL already exists" Error
What does the error message "This custom URL already exists" mean?
- This error occurs when the custom URL you are trying to create is already in use by another user or event. Each custom URL on LinkPod must be unique to ensure there are no conflicts in accessing different content.
What steps can I take to resolve the error?
- Modify the URL: Try adding numbers or additional words to your desired URL to make it unique (e.g., "event2024" instead of "event").
- Use a different domain: If you have access to custom domains, switch to a different domain where the desired URL may be available.
Conclusion
Creating a branded event link with LinkPod is a straightforward and efficient way to manage and share your event details. This feature not only helps in promoting your event but also ensures that attendees have the event details readily available in their calendars.
For any further assistance or queries, please reach out to our support team.